
Hi Folks ! I started working with SharePoint around 2005 and since then Installing SharePoint happened to be a regular affair. Though most of the Installation is straight forward and usually must certainly be without any issues, but most of us must have been challenged by couple of hiccups during Installation.
Yesterday I was setting up SharePoint 2013 on a machine with Windows 2012 R2 OS and indeed it was a fresh installations. We all are aware about the fact that any fresh SharePoint Installation requires to install Prerequisites first and this time I was stumbled upon at this step only. In past mostly my setup exercises were absolutely a cakewalk, so i was really upset as what's wrong. I tried running SharePoint Prerequisite installation couple of times but No Luck (very frustrating… isn't it).
Here is what happened..
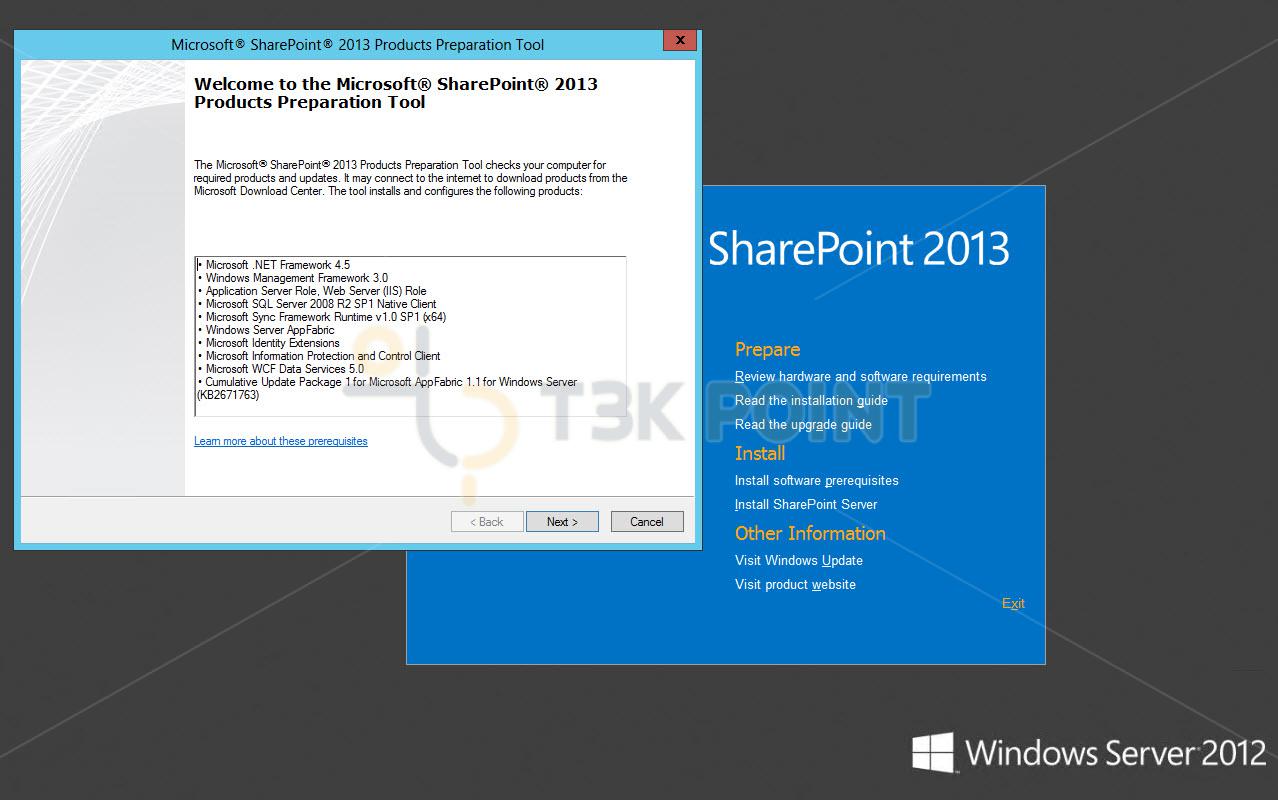
Started Installation of Prerequisites and … After Installation of Application Server role,
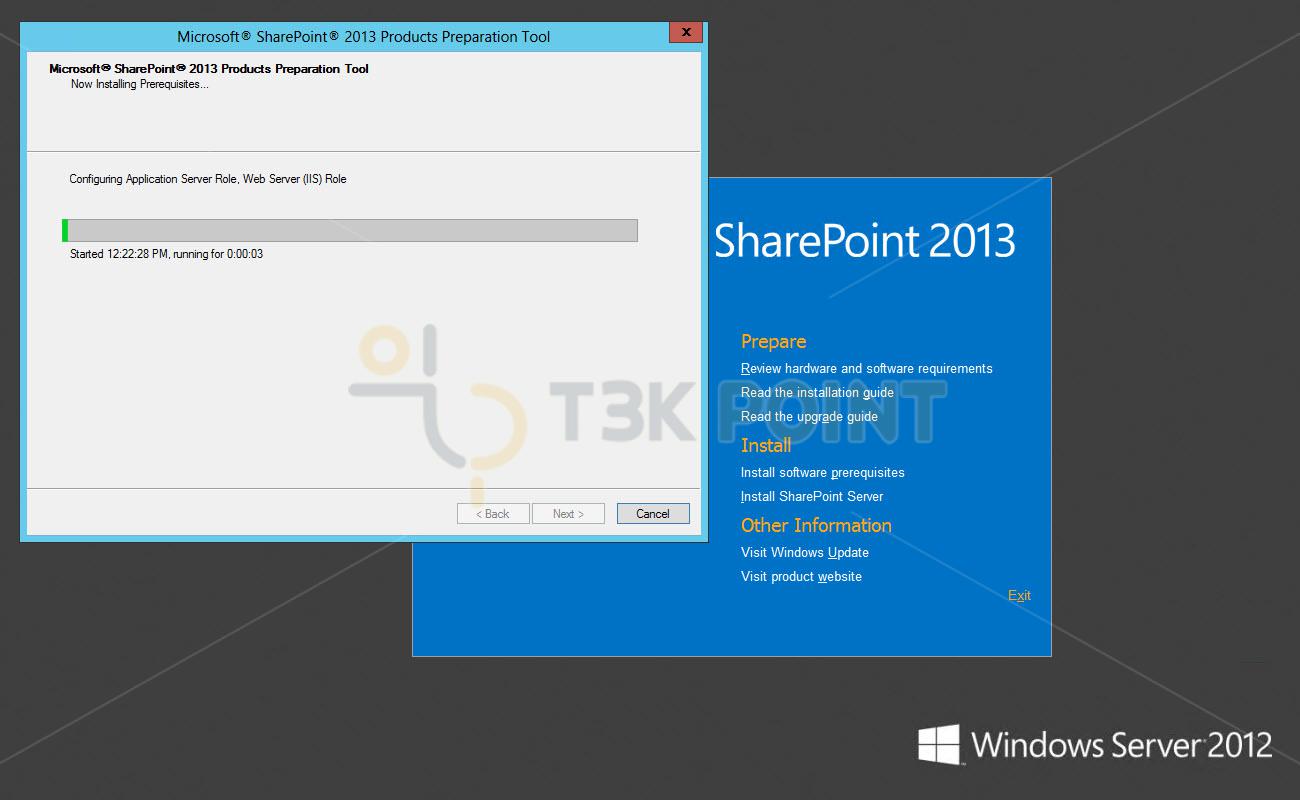
the Prerequisite Installer halted with this failure message.
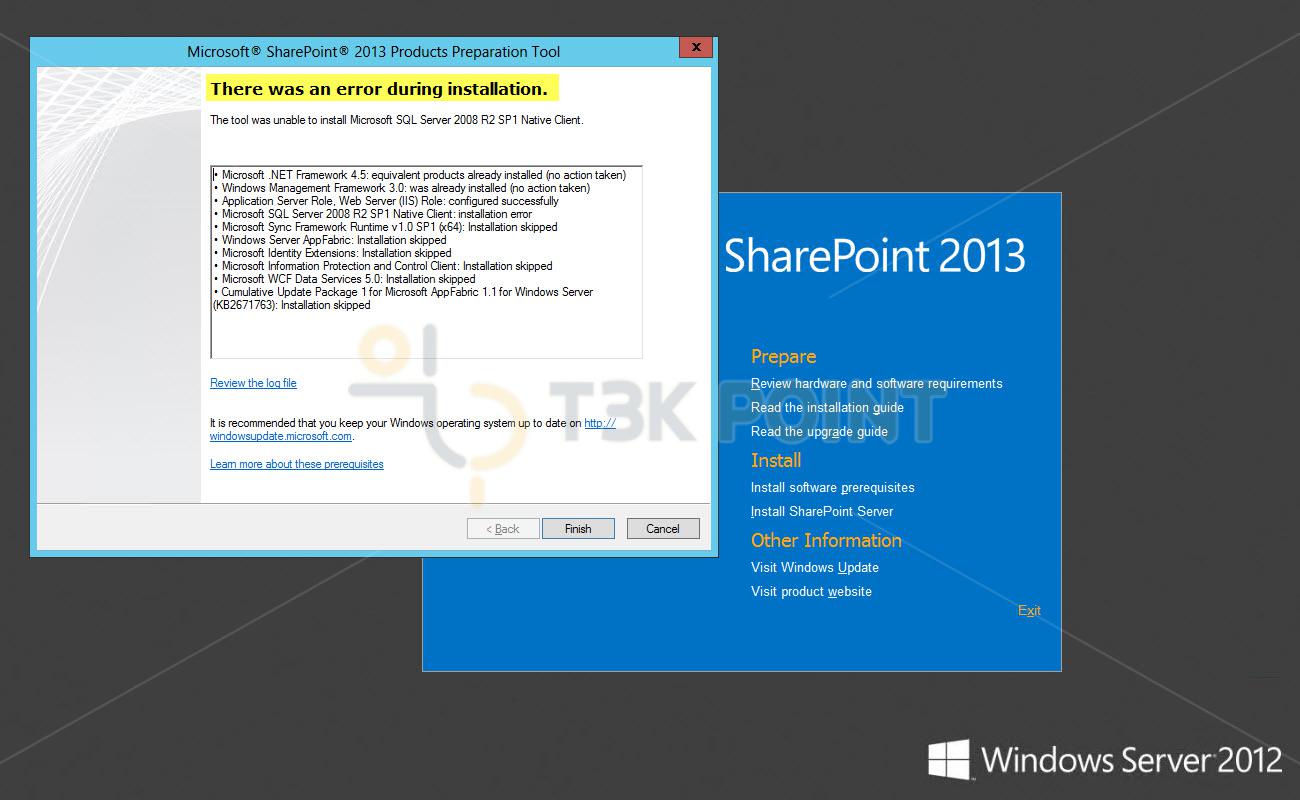
After trying several times and every time landing on same climax (The Failure Screen), it was time to take a little pause and think what's Next ?
Hi Guys !! I was back after a break and with fresh mind. This time i collected all the information of Prerequisistes, downloaded all of them separately and installed all One by One AND Voila !!! The Success this Time (Ah ! what a sigh of relief). I am putting all the important information here for all of you (in case anyone of you stuck like me Or any of you wishes to do it manually having more control). Also this information can be helpful for those who have no Internet access at SharePoint Server and wish to setup SharePoint installation Prerequisites without Internet access.
Step 1 : Start Power shell as Administrator or Farm Administrator and execute the following cmdlets.
Import-Module ServerManager
Add-WindowsFeature NET-WCF-HTTP-Activation45,NET-WCF-TCP-Activation45,NET-WCF-Pipe-Activation45 -Source X:\Sources\sxs
Add-WindowsFeature Net-Framework-Features,Web-Server,Web-WebServer,Web-Common-Http,Web-Static-Content,Web-Default-Doc,Web-Dir-Browsing,Web-Http-Errors,Web-App-Dev,Web-Asp-Net,Web-Net-Ext,Web-ISAPI-Ext,Web-ISAPI-Filter,Web-Health,Web-Http-Logging,Web-Log-Libraries,Web-Request-Monitor,Web-Http-Tracing,Web-Security,Web-Basic-Auth,Web-Windows-Auth,Web-Filtering,Web-Digest-Auth,Web-Performance,Web-Stat-Compression,Web-Dyn-Compression,Web-Mgmt-Tools,Web-Mgmt-Console,Web-Mgmt-Compat,Web-Metabase,Application-Server,AS-Web-Support,AS-TCP-Port-Sharing,AS-WAS-Support, AS-HTTP-Activation,AS-TCP-Activation,AS-Named-Pipes,AS-Net-Framework,WAS,WAS-Process-Model,WAS-NET-Environment,WAS-Config-APIs,Web-Lgcy-Scripting,Windows-Identity-Foundation,Server-Media-Foundation,Xps-Viewer -Source X:\Sources\sxs Note: In the above command-let change X to the drive of the Windows Installation Media.
This would install and configure Application Server role in fresh installation of windows. In case the role is already installed, running these command-lets would refesh the Application Server Role and would configure any missing features.
Step 2 – SQL Server 2008 R2 SP1 Native Client Installation :Download the software from here and Install as Administrator or Farm Administrator.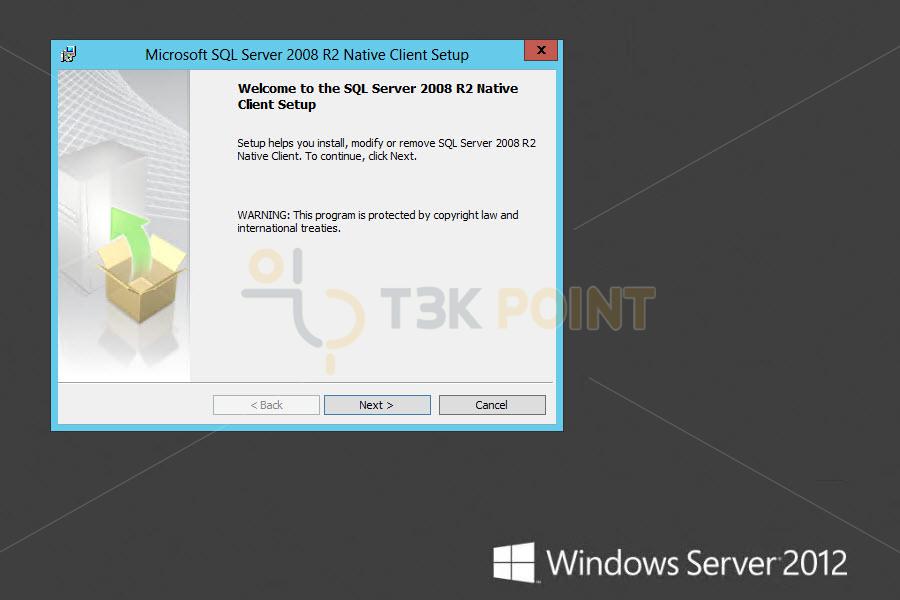
Step 3 – Microsoft WCF Data Services 5.0 Installation :Download the software from here and Install as Administrator or Farm Administrator.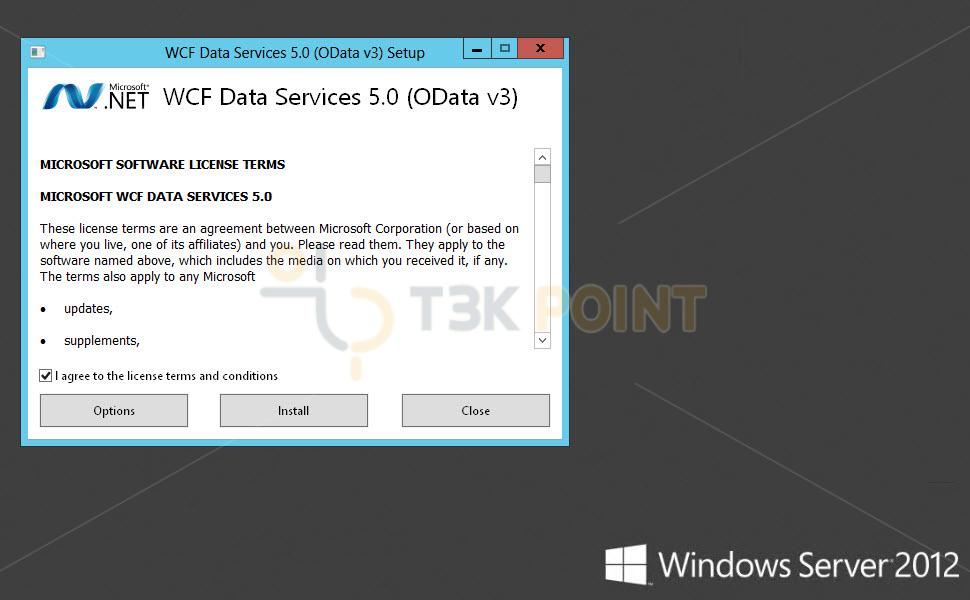
Step 4 – Microsoft Information Protection and Control Client (MSIPC) Installation :Download the software from here and Install as Administrator or Farm Administrator.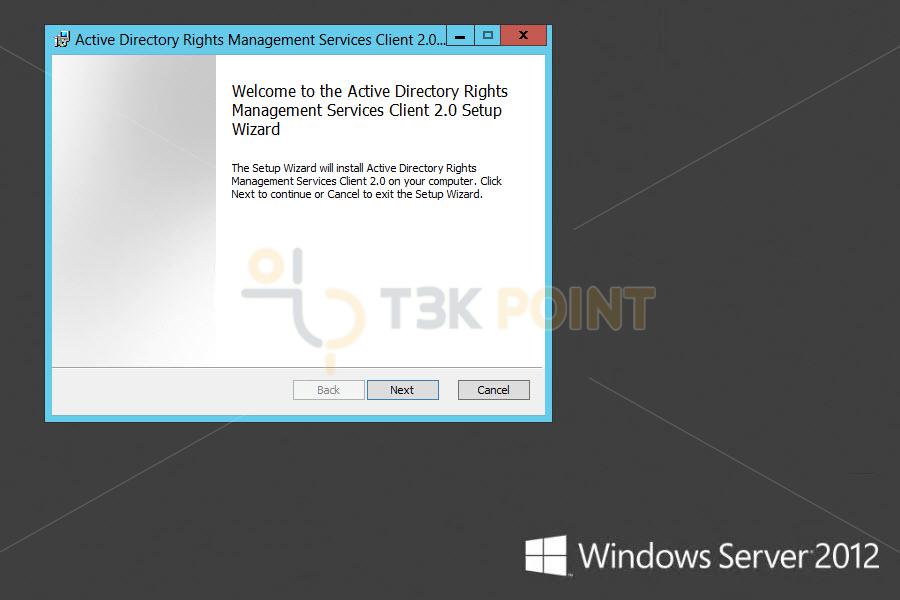
Step 5 – Microsoft Sync Framework Runtime v1.0 SP1 (x64) Installation :Download the software from here and Install as Administrator or Farm Administrator.
Step 6 – Microsoft Windows Identity Extensions Installation :Download the software from here and Install as Administrator or Farm Administrator.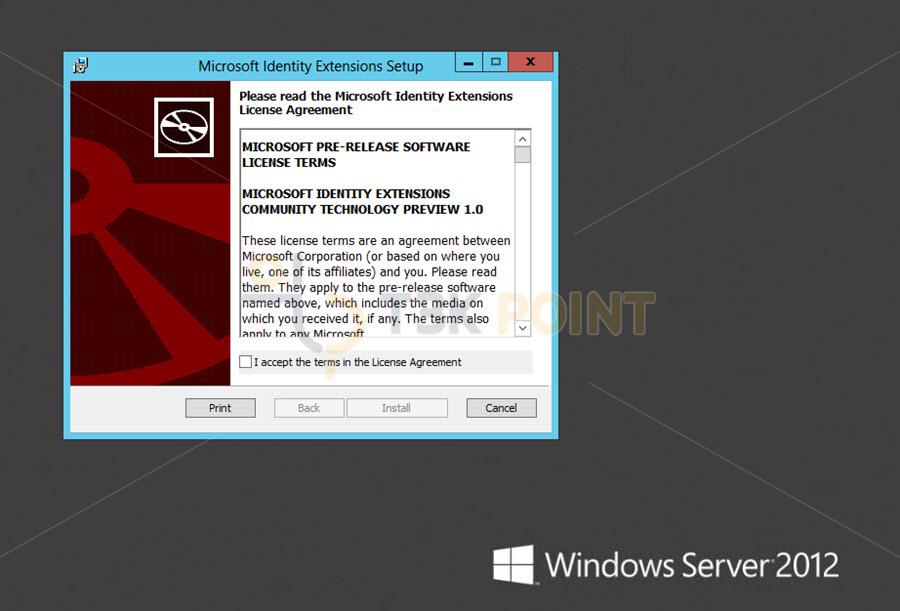
Step 7 – Microsoft Windows Identity Foundation (KB974405) Installation :Download the software from here and Install as Administrator or Farm Administrator.
Next Step is to setup Windows AppFabric and Cummulative Update 1 (CU1) for AppFabric. As AppFabric Installation requires special configuration, I usually don't Install the regular way, but I install it using Command Prompt.
Step 8 – Windows AppFabric Installation :Download the software from here and Open Command Prompt as Administrator or Farm Administrator. Execute the following command in Command Prompt window after changing the path to the download folder.
WindowsServerAppFabricSetup_x64.exe /i CacheClient","CachingService","CacheAdmin /gac
Step 9 – CU 1 for AppFabric 1.1 (KB2671763) Installation :Download the software from here and Install as Administrator or Farm Administrator. In case you have already got this update as a part of Windows Update, you may get error installing this, but you ahouls not worry about this.
Hope following the above process, the Installation with above steps is rather smooth and without any errors. If so, Congratulations !!! you have accomplished the first milestone and All set to Go to next Level, but after a reboot. Reboot the machine and Install SharePoint 2013 on Windows Server 2012 R2.
Leave a Reply